Importing and Exporting
As we need to complete our java assignment, we need to be able to import out semi-completed project, and then export it again when we are finished for submission.
To import your assignment, first create a new project.
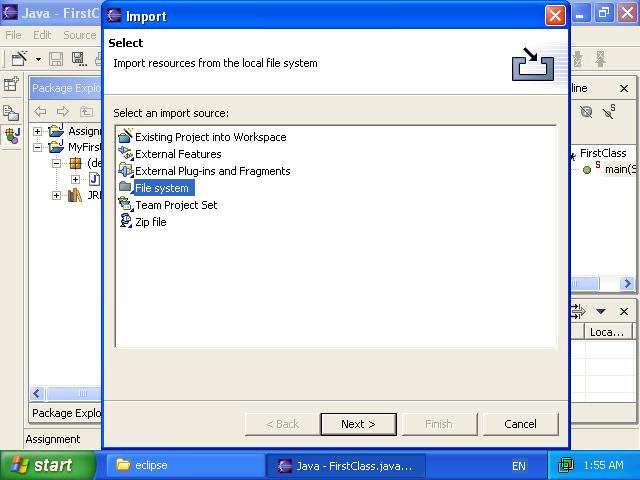
To import files go File -> Import.
Choose "File System" and click next. Click browse beside the "From Directory:" field and locate your file(s). Select the folder on the left (clicking on the folder, not the checkbox), then choose the files you want to import on the right (ticking the checkboxes). Ensure the correct project is selected in the "Into Folder" field, if it is not, click the Browse box to select the correct project.
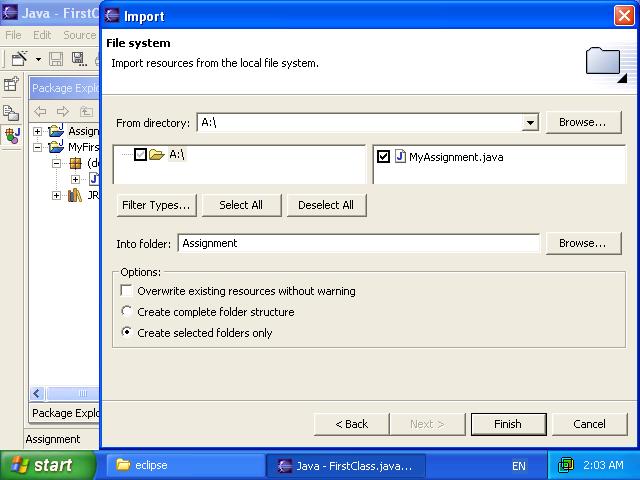
Click Finish.
That's all there is to importing. You can drop down the contents of your
project in the "Package Explorer" on the left (clicking the little
![]() beside the project, then
drop down the "(default package) to see your files. You can double click on the
file to edit it.
beside the project, then
drop down the "(default package) to see your files. You can double click on the
file to edit it.
Exporting follows much the same process. File -> Export, select "File System" click next. Select the project on the left, then the files you want to export (you dont need to export ".classpath" or ".project" files. Select the destination in the "To directory" field, then select finish.
Next Section: Debugging an Application